- A+
Installation Instructions for Printer Driver
1. Download the printer driver. To install your new printers properly, you need to install the appropriate printer driver for your computer. Depending on the model of printer and the type of operating system used, the right driver should be downloaded. As the size of the driver available may vary greatly, it is important to choose the right one in order to ensure the installation process is hassle-free.
2. Connect the printer to the computer. Once the correct driver has been downloaded, the printer must be connected to the computer using the appropriate cables. In most cases the printer is connected via an USB cable, though a wireless connection can also be used.
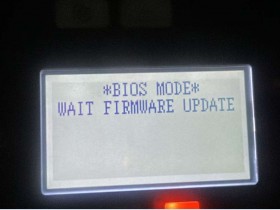
3. Install the printer driver. Once the printer is properly connected to the computer, the driver for the model can be installed. To do this, open the downloaded file and run the installation process. Follow all instructions as outlined in the driver installation. When complete, restart the computer as directed in order to ensure that the driver is properly loaded.
4. Test the printer. Once the computer has been restarted, the printer can be tested. To do this, open a document on the computer and attempt to print the document. If the printer is functioning correctly, the document should print successfully. If the test is unsuccessful, ensure that all connections are secure and restart the installation process.
If properly installed, the printer driver will enable the user to take advantage of all the features of the model. It is important that the installation process is followed accurately in order to avoid any potential problems. If difficulties are encountered, it is best to consult the manual for the printer or contact the manufacturer for assistance.
- 微信在线客服
- 这是我的微信扫一扫
-

- 我的微信公众号
- 扫一扫码上服务
-